Moreover, these issues could engulf any component of your PC. Be it audio, graphics, network, hardware devices, or even the Windows Store Apps, all are prone to bugs and issues. And while you may be able to identify the issue, manually fixing it might not be everyone’s cup of tea. Fortunately, the Silicon Valley giants understand this pretty well and hence have incorporated a few troubleshooter apps. Each of them focuses on a specific domain- Network, Audio, Camera, Folders, Search, and the likes. However, the Hardware and Devices Troubleshooter seems to be missing from this list Windows 11 Troubleshooter. And yes that is indeed the case.
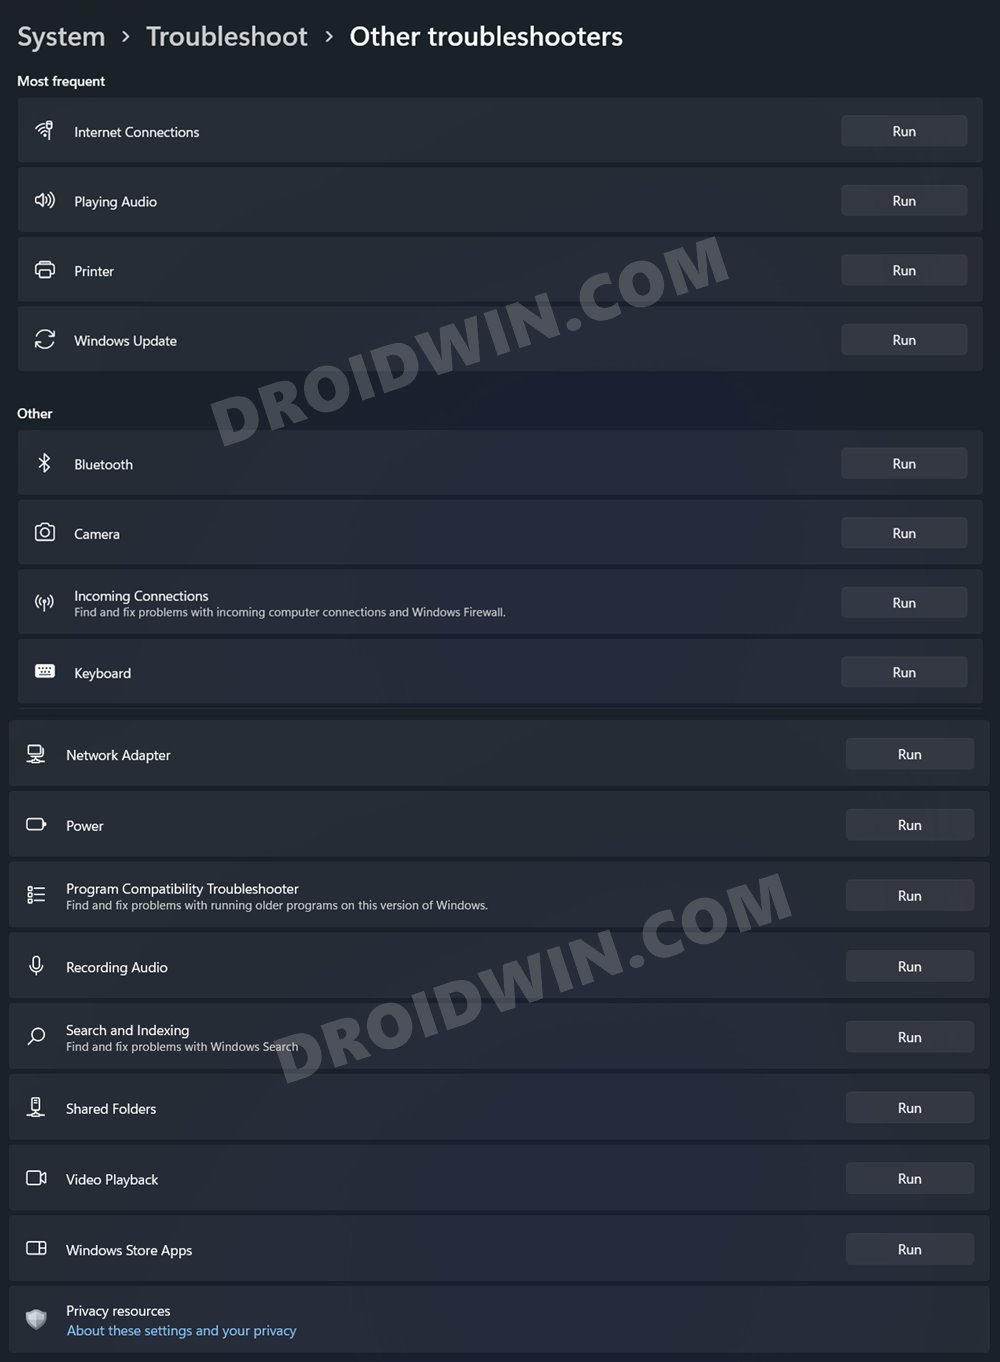
For the unaware, all the troubleshooters are located under Settings (Windows+I) > System > Troubleshooter > Other Troubleshooter. However, you wouldn’t find the Hardware and Devices Troubleshooter there. So is it even present in Windows 11? Well, the answer is in the affirmative! And this guide shall help you access it. Given hereby are the steps to enable and use the Hardware and Devices Troubleshooter on your Windows 11 PC. Follow along.
Where is the Hardware and Devices Troubleshooter in Windows 11?
Most of the Windows 11 built-in services and programs have an EXE file through which you could access the associated tool. Keeping a note of the same, I opened File Explorer (Windows+E) and went over to the following location:
And bingo, I got hold of the Hardware and Devices Troubleshooter EXE file, which is named msdt.exe. So all that was needed is to launch this file which in turn should launch the required troubleshooter. Or so I thought. Upon opening this troubleshooter, you will be greeted with a dialog box that will ask you for a passkey provided by the Support Professional.
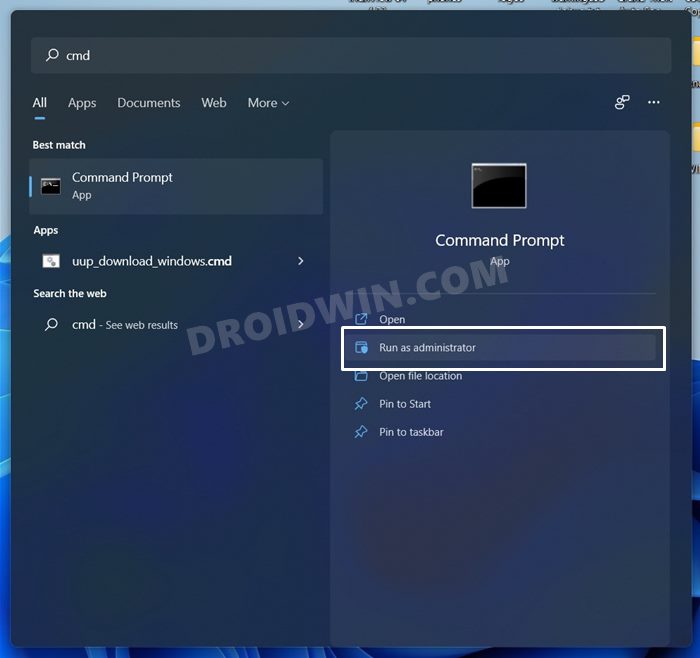
Well, this seems to have complicated the matter even more. Then I realized that there’s always an alternate route to launch apps- via Command Prompt. So I took this approach, and guess what, the Hardware and Devices Troubleshooter was up and running on my Windows 11 PC, no passkey required, no permission, nothing! Here’s how you could do the same: So these were the steps to enable and use the Hardware and Devices Troubleshooter in Windows 11 PC. It is really quite an interesting move from the OS giants to hide such an important feature from the general users. Anyways, the workaround comes to our rescue, yet again! On that note, we round off this guide. All your queries are welcomed in the comments section below.
Where are the Windows 11 Default Icon Files LocatedHow to Take Ownership of Files and Folders in Windows 11UWP Apps in Windows 11: Location, URI, Shortcut, UninstallHow to Remove Ads in Windows 11
About Chief Editor