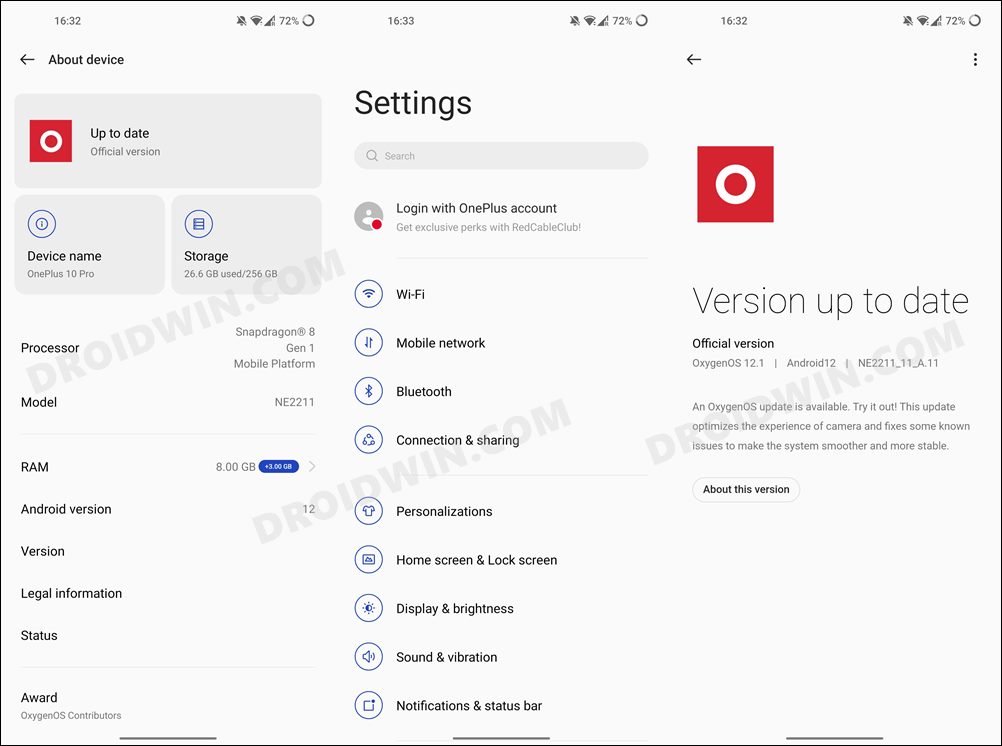
While that is up for debate, what isn’t is the fact that the Chinese version of this device comes bloated with tons of additional bloatware and unnecessary customization features. In this regard, the Global variant also has the ColorOS, but unlike its counterpart, the bloated apps are on the lower side, thereby giving a much better usage experience. If you also echo this thought process, then this guide shall help you out. In this tutorial, we will show you the steps to install the Indian ROM on the Chinese OnePlus 10 Pro. Follow along.
How to Install Indian ROM on Chinese OnePlus 10 Pro
We have successfully flashed the Indian ROM having build number A11 onto the Chinese OnePlus 10 Pro that had the build number A13 installed without any issues. With that said, the below process will wipe off all the data, so take a backup beforehand. Droidwin and its members wouldn’t be held responsible in case of a thermonuclear war, your alarm doesn’t wake you up, or if anything happens to your device and data by performing the below steps.
STEP 1: Download Fastboot Enhance Tool
Download the Fastboot Enhance Tool from GitHub [direct link][Credits: XDA Senior Member xzr467706992]. Once downloaded, extract it to any convenient location on your PC. The biggest advantage of this tool is that you could directory flash the payload.bin file, there is no need to extract it and get the resultant IMG files!
STEP 2: Download OnePlus 10 Pro Indian ROM
STEP 3: Install Android SDK
First and foremost, you will have to install the Android SDK Platform Tools on your PC. This is the official ADB and Fastboot binary provided by Google and is the only recommended one. So download it and then extract it to any convenient location on your PC. Doing so will give you the platform-tools folder, which will be used throughout this guide.
STEP 4: Install Fastboot Drivers
The tool doesn’t come with the Fastboot Drivers, so you will manually have to install it on your PC. For that, please refer to our guide on How to Install Fastboot Drivers in Windows 11. Likewise, make sure to install the OnePlus USB Drivers as well [they are usually automatically installed as soon as you connect your device to the Windows PC for the first time].
STEP 5: Enable USB Debugging and OEM Unlocking
Next up, you will have to enable USB Debugging and OEM Unlocking on your device. The former will make your device recognizable by the PC in ADB mode. This will then allow you to boot your device to Fastboot Mode. On the other hand, OEM Unlocking is required to carry out the bootloader unlocking process.
So head over to Settings > About Phone > Tap on Build Number 7 times > Go back to Settings > System > Advanced > Developer Options > Enable USB Debugging and OEM Unlocking.
STEP 6: Unlock Bootloader on OnePlus 10 Pro
You will now have to unlock the bootloader on your OnePlus 10 Pro device. Do note that doing so will wipe off all the data from your device and might nullify its warranty as well. If that’s well and good, then refer to our guide on How to Unlock Bootloader on OnePlus 10 Pro.
STEP 7: Boot to Fastboot Mode
STEP 8: Install Indian ROM on Chinese OnePlus 10 Pro
That’s it. These were the steps to install the Indian ROM on the Chinese OnePlus 10 Pro. If you have any queries concerning the aforementioned steps, do let us know in the comments. We will get back to you with a solution at the earliest.
How to Enable Local Install in OnePlus 10 ProHow to Unlock Bootloader on OnePlus 10 ProRoot OnePlus 10 Pro via Magisk Patched Boot.imgOnePlus 10 Pro: Download Fastboot ROM and Stock Firmware
About Chief Editor


