While some might suggest that it lacks a few customizations and tweaks, but that is more along the expected lines. With that said, there’s still a window of opportunity through which you could get more out of this ROM. For that, all that is needed is access to the system partition. In other words, you would have to root your device. Once you do so, you could try out a plethora of mods, such as Xposed Framework, Magisk Modules, Substratum Themes, and Viper4Android. So he could one carry out this root? Well, I recently covered an article on how you could Root Pixel Experience using Magisk, but without TWRP. The only issue with that method is that it required quite a lot of effort. You had to download the entire ROM file, extract the payload.bin file, patch it via Magisk and flash it via Fastboot. On the other hand, the method that we are going to discuss in this guide is quite a shorter one and easy to execute as well. So without further ado, let’s get started.
How to Root Pixel Experience ROM via TWRP Recovery
The below instructions are listed under separate sections for ease of understanding. Make sure to follow in the exact same sequence as mentioned. Droidwin and its members wouldn’t be held responsible in case of a thermonuclear war, your alarm doesn’t wake you up, or if anything happens to your device and data by performing the below steps.
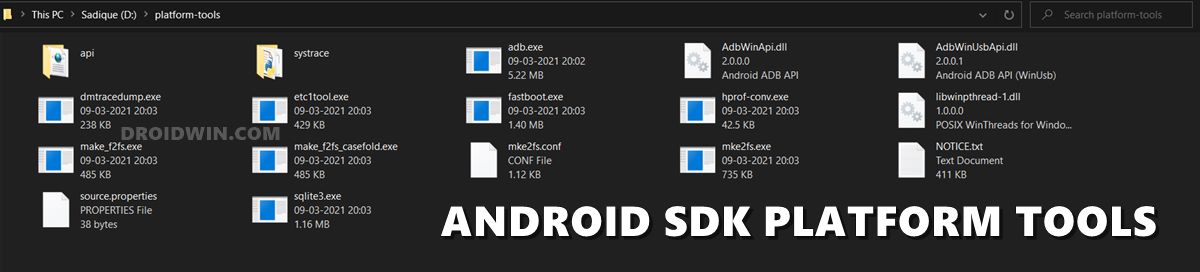
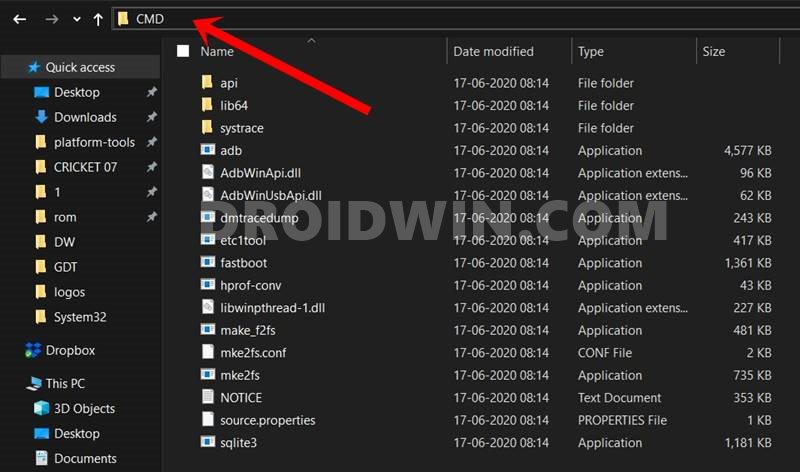
STEP 1: Install Android SDK
First and foremost, you will have to install the Android SDK Platform Tools on your PC. This is the official ADB and Fastboot binary provided by Google and is the only recommended one. So download it and then extract it to any convenient location on your PC. Doing so will give you the platform-tools folder, which will be used throughout this guide.
STEP 2: Install TWRP Recovery
Next up, you will have to install the TWRP Recovery on your device. Chances are, most of you might already have it installed. However, if that is not the case, then please refer to our guide to Install TWRP Recovery on Android. Here are the generalized instructions, in short:
STEP 3: Download the Magisk App
For rooting the Pixel Experience ROM via TWRP, you would need to download the Magisk App. Before that, there’s an important point worth discussing. Beginning with version 22, Magisk ZIP and APK have been combined into a single Magisk APK file [Download Link]. So if you are going to use this (recommended), then just rename the Magisk APK to Magisk ZIP to make it TWRP flashable. On the other hand, if you are planning to download an earlier build, then directly grab hold of the Magisk Installer ZIP file. Anyways, once you have downloaded either of the Magisk ZIP file, transfer it to your device. Apart from that, some devices also require you to flash DM_Verity ZIP to disable encryption. You could reverify the same from your device’s XDA Forum or the ROM’s official page. And if that is required, then download it from here: Disable_Dm-Verity_ForceEncrypt_11.02.2020.zip. Make sure to transfer this file to your device as well.
STEP 4: Boot Device to TWRP Recovery
STEP 5: Flash Magisk App via TWRP | Root Pixel Experience
So this was all from this guide on how to root the Pixel Experience ROM using the TWRP Recovery. If you have any queries concerning the aforementioned steps, do let us know in the comments. We will get back to you with a solution at the earliest.
About Chief Editor
![]()
![]()
