Along the same lines, Pixel devices have always been known to be the most active players in custom development. And the shades of this is already visible in the newest release as well. You could now gain administrative rights over your Pixel 6 device by rooting it via the Magisk patched boot.img file. And this guide will show you how to do just that. Follow along for the detailed instructions.
Benefits and Risks of Rooting Pixel 6/Pro
Once you root your device, you will be in a position to flash a plethora of mods. These include the likes of Magisk Modules, Substratum Themes, Xposed Framework via LSPosed, Viper4Android among others. Along the same lines, you could also flash a custom kernel and implement your desired CPU profile. However, such tweaks do comes in with a few risks as well.
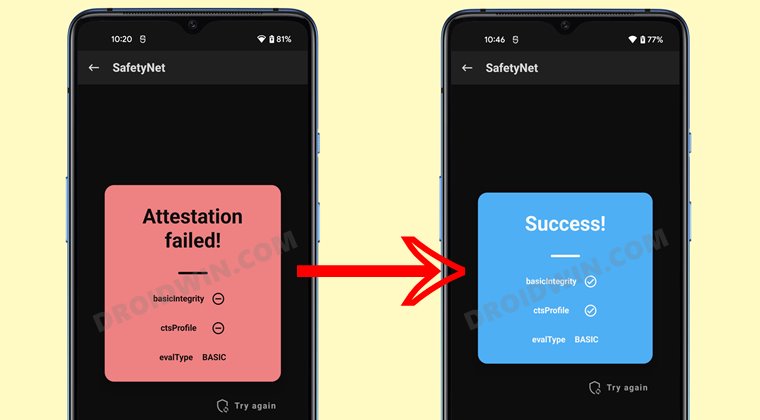
To begin with, rooting requires you to unlock the bootloader- which will wipe of all the data and could nullify the warranty as well. Likewise, SafetyNet will be triggered which will result in your inability to use banking apps (though you could still pass SafetyNet in Rooted Android 12). So if all that’s well and good, then let’s get started with the steps to root your Google Pixel 6/Pro device via the Magisk patched boot.img file.
How to Root Google Pixel 6/Pro via Magisk Patched Boot.img
The below instructions are listed under separate sections for ease of understanding. Make sure to follow in the exact same sequence as mentioned. Droidwin and its members wouldn’t be held responsible in case of a thermonuclear war, your alarm doesn’t wake you up, or if anything happens to your device and data by performing the below steps.
STEP 1: Install Android SDK
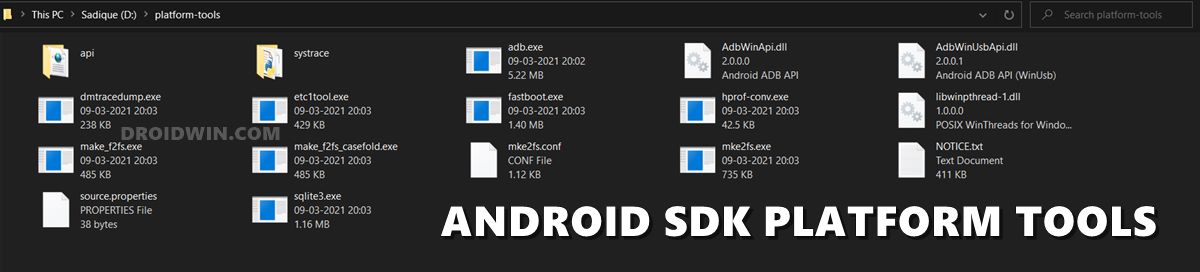
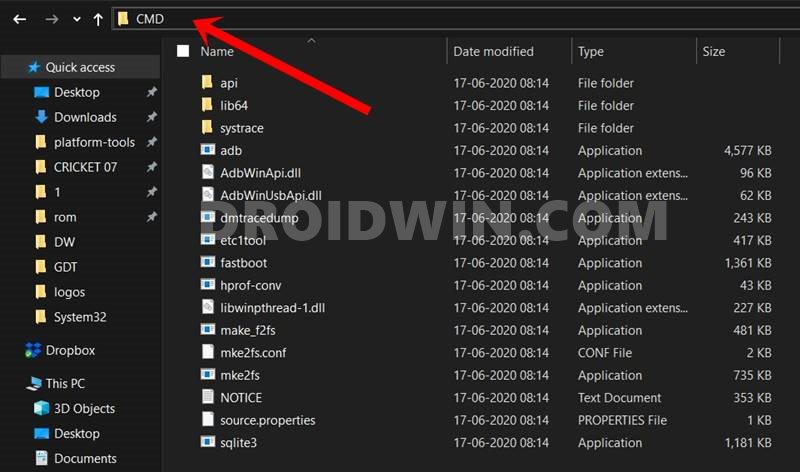
First and foremost, you will have to install the Android SDK Platform Tools on your PC. This is the official ADB and Fastboot binary provided by Google and is the only recommended one. So download it and then extract it to any convenient location on your PC. Doing so will give you the platform-tools folder, which will be used throughout this guide.
STEP 2: Enable USB Debugging and OEM Unlocking
Next up, you will also have to enable USB Debugging and OEM Unlocking on your device. The former will make your device recognizable by the PC in ADB mode. This will then allow you to boot your device to Fastboot Mode. On the other hand, OEM Unlocking is required to carry out the bootloader unlocking process.
So head over to Settings > About Phone > Tap on Build Number 7 times > Go back to Settings > System > Advanced > Developer Options > Enable USB Debugging and OEM Unlocking.
STEP 3: Unlock Bootloader on Pixel 6/Pro
Next up, you will also have to unlock the device’s bootloader. Do keep in mind that doing so will wipe off all the data from your device and could nullify its warranty as well. So if that’s all well and good, then please refer to our detailed guide on How to Unlock Bootloader on Google Pixel 6/6 Pro.
STEP 4: Get Pixel 6/Pro Stock Boot.img
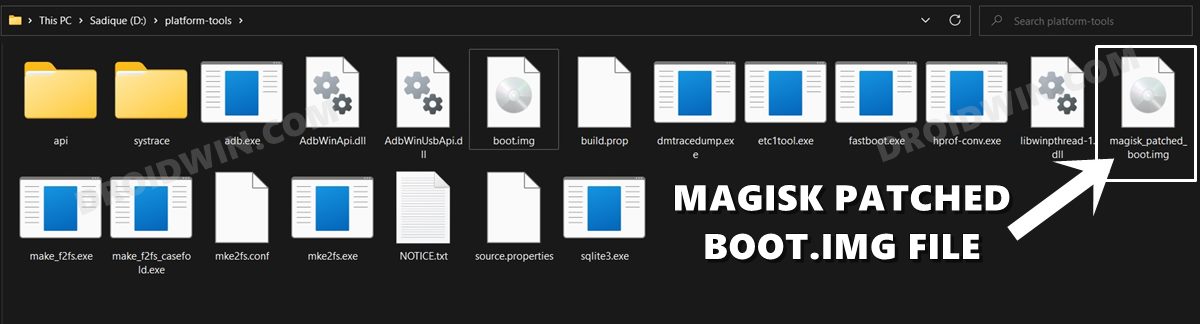
STEP 5: Patch Boot.img via Magisk
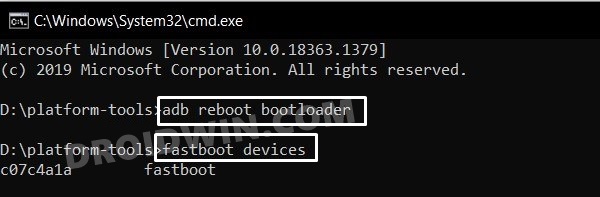
STEP 6: Boot to Fastboot Mode
STEP 7: Boot Pixel 6/Pro using Magisk patched Boot.img
As of now, you cannot directly flash the boot.img file to root your Pixel 6/Pro. If you end up doing so, then you will get the “Can’t load Android system. Your data may be corrupted” error message. To avoid this from happening, you will first have to boot your device via the Magisk patched boot.img and then permanently root your Pixel 6 using the Direct Install method.
STEP 8: Permanent Root Pixel 6/Pro via Direct Install
After executing the above command, your device will be booted to the OS with a temporary root. Here’s how to make it permanent: So with this, we round off the guide on how you could root your Pixel 6/Pro device via Magisk patched boot.img. If you have any queries concerning the aforementioned steps, do let us know in the comments section below. We will get back to you with a solution at the earliest.
How to Root Google Pixel 6/Pro on Android 13
Beginning with Android 13, Google has introduced the Anti Rollback Protection for the Pixel 6 series. Earlier, if anything went wrong on one slot, then your device would use the second slot to boot to the OS. However, since your second slot would still be having Android 12, it would end up triggering the Anti Rollback mechanism and your device might end up in a bricked state. To prevent that from happening, you should first install the Android 13 firmware to both the slots, using the instructions given here- Install Android 13 in Both Slots on Pixel 6A/6/Pro to Prevent Brick. Once that is done, you may then refer to the below steps to root your Pixel 6/Pro running Android 13. Some users have reported that the root isn’t able to survive a reboot. Right after they perform a Direct Install, the root disappears. If you are also in the same boat, then there’s a workaround that you could try, however, it involves a complete device wipe. So take a backup beforehand and then refer to the below steps: UPDATE 1 (16th December 2021): The latest Magisk Canary version 23016 has added the fixes for vbmeta header patching. As a result, you would no longer need to disable verity/verification. Just use the latest Magisk version and then directly skip to STEP 8. till, for the sake of knowledge, I’m listing out the steps on how you could disable the DMVerity and AVB on your Pixel 6/Pro:
How to Update Rooted Android 11 Pixel to Android 12Downgrade Pixel From Android 12 to Android 11 using Android Flash ToolHow to Fix Slot Unbootable Load Error on Pixel DevicesHow to Flash Firmware on Pixel via Android Flash Tool
About Chief Editor
![]()
![]()
![]()
![]()
![]()
![]()
![]()
![]()
![]()
